ePortfolio
D2L's ePortfolio gives students and instructors the ability to create collections and presentations that represent their academic achievements and experiences.
While the ePortfolio tool is not tied to individual classes, instructors can assign work within the tool. Students may create collections and presentations and then make those items assessable so that classmates may complete peer reviews and the instructor can offer feedback. Although the tool cannot be connected to the D2L gradebook, items within the ePortfolio can be associated with a grading rubric.
“Store, organize, reflect on, and share items that represent your learning using ePortfolio."
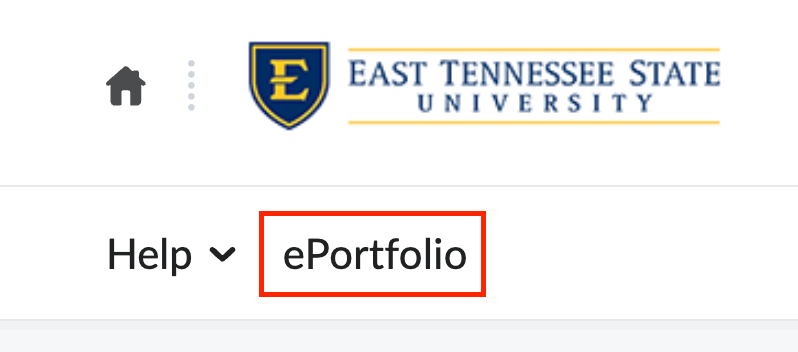
To access ePortfolio, click on the ePortfolio link located on the My Home page within the navigation bar.
-
Navigation
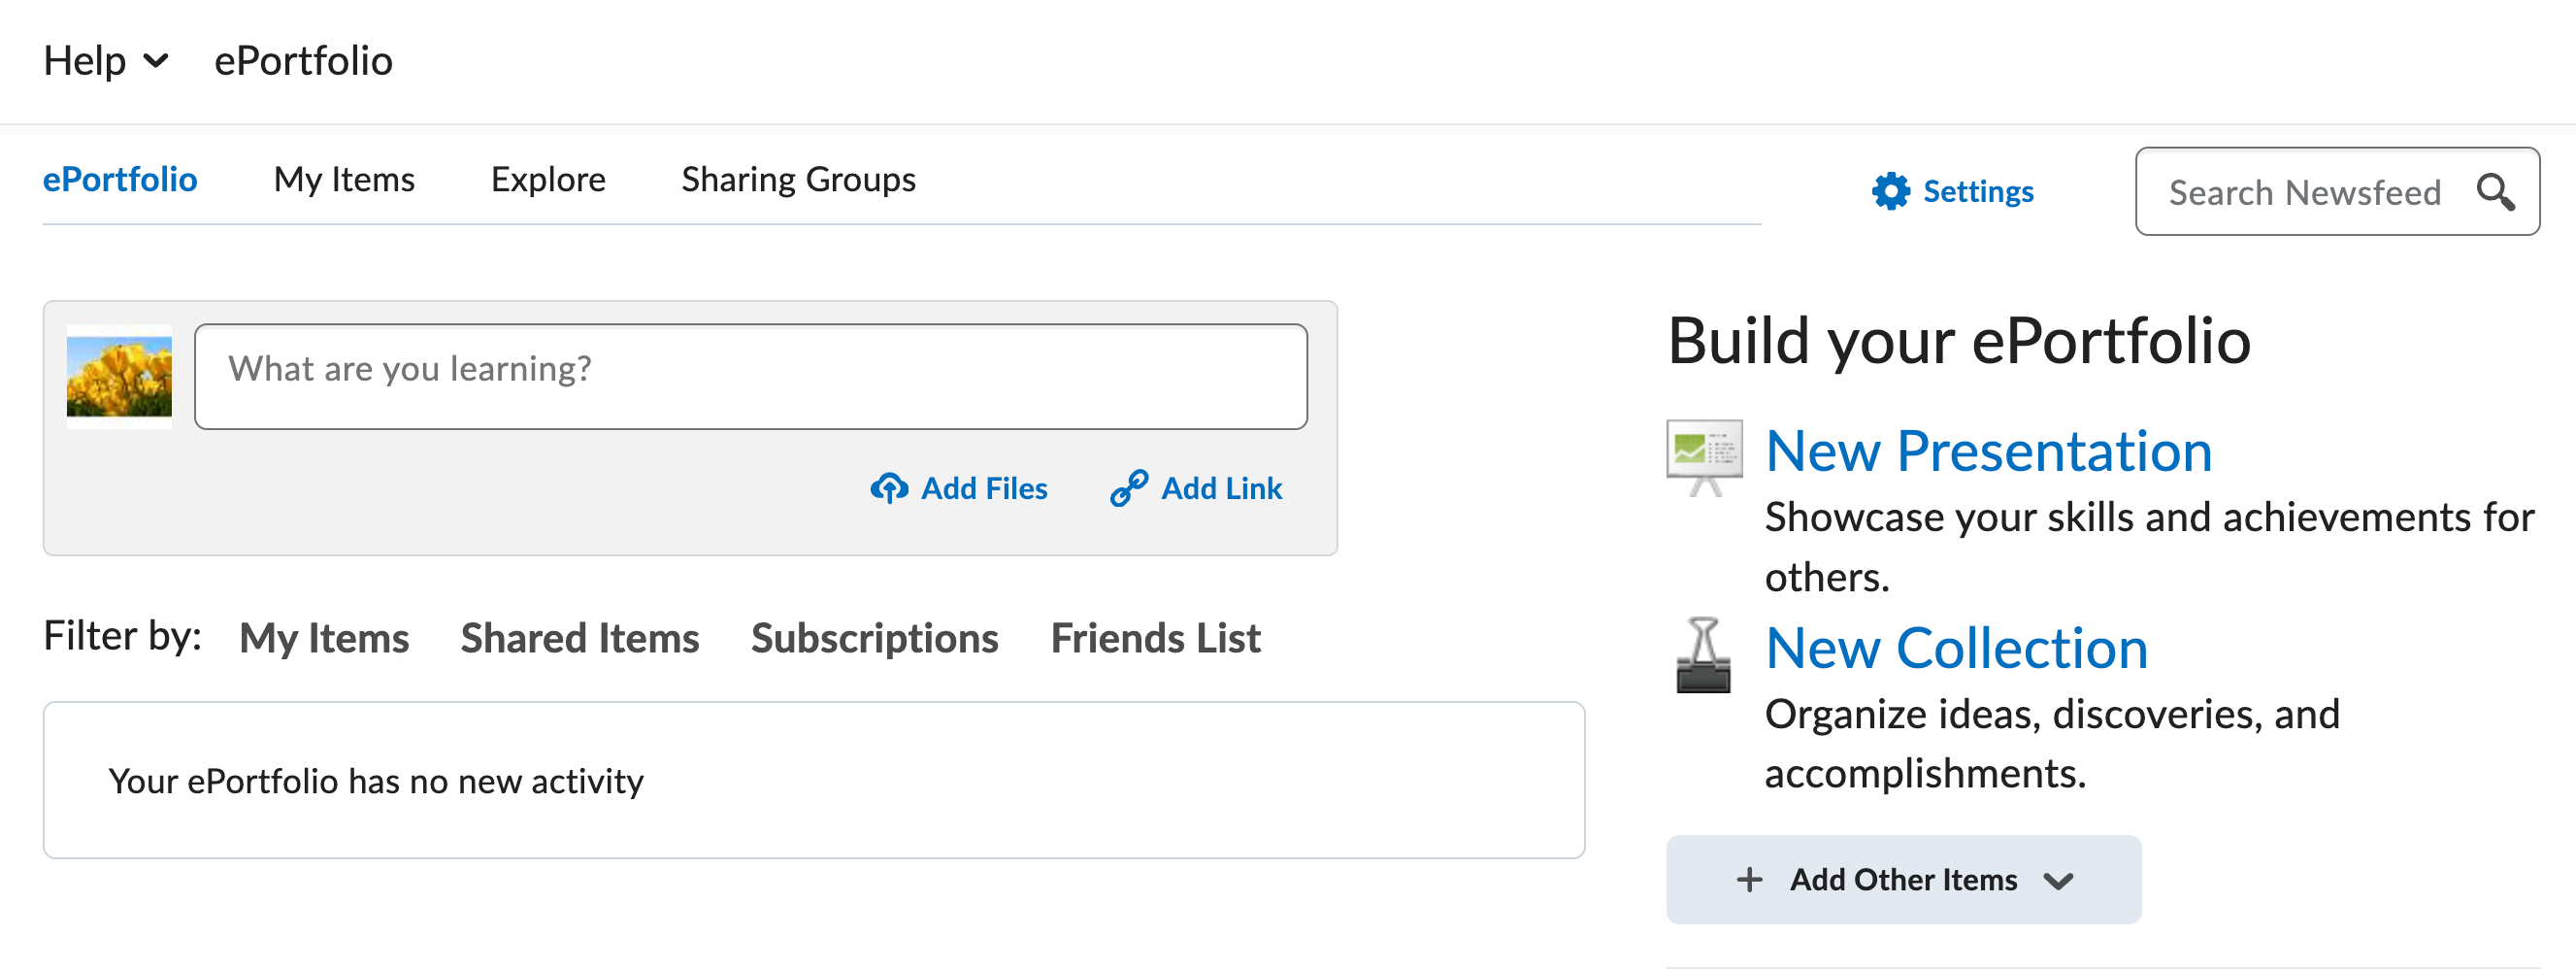
- After clicking on ePortfolio from the Navigation bar you will be taken to the ePortfolio Dashboard. From this dashboard you can write a reflection, add artifacts, and view your recent ePortfolio activity. Also included on the Dashboard are your invitations to view, assess, or comment on items from other students and instructors.
My Items
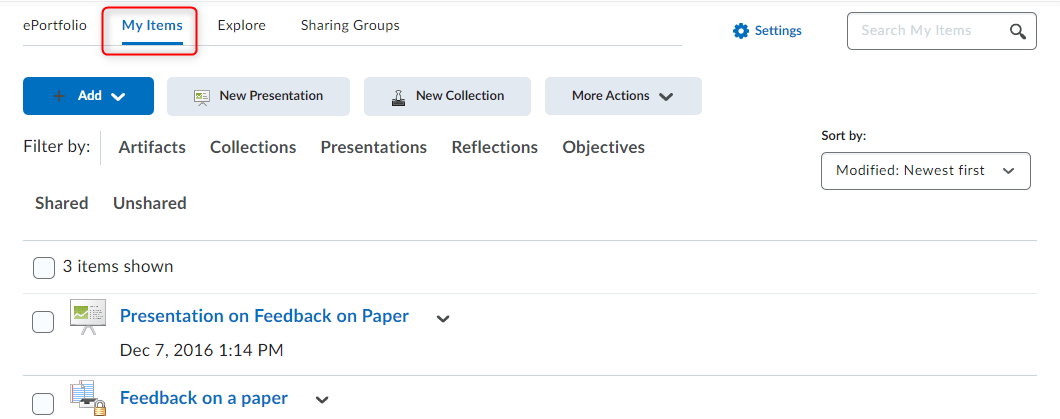
- Use this function to create, view, and manage all items within your ePortfolio. Items include files, artifacts, collections, and presentations. You can view specific items by selecting an option from the filtering menu. For example: clicking “presentations” will show only those presentations you have created within the tool.
- To manage an item, click on that item’s context arrow to view the menu. From here, you can view, edit, share, or even delete the item.
- To perform an action on multiple items, mark the checkboxes for those items and select an action from the More Actions button.
Explore
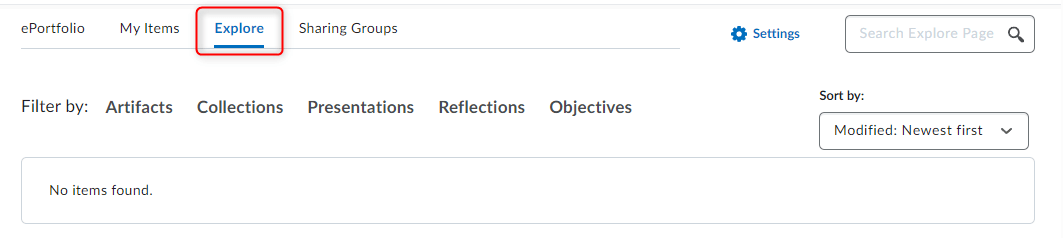
- The Explore tab lists all items that have been shared with you. You can view specific items by selecting an option from the filtering menu. For example: clicking “presentations” will show only those presentations shared with you.
Sharing Groups
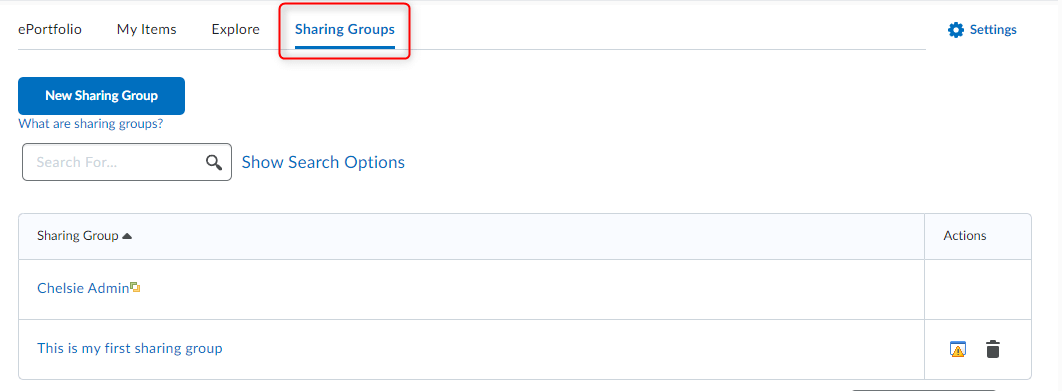
- Use sharing groups to create multiple sets of permissions that control the viewing, commenting, and assessing of your ePortfolio items.
-
Add An Artifact
In D2L's ePortfolio tool, an artifact can include reflections, links, documents, and even audio/video files. These files and reflections can be uploaded into your artifacts library or imported from your D2L courses.
Adding Artifacts
While you are able to add some artifacts on the Dashboard, most artifacts should be added from the My Items page of the ePortfolio tool.
- Click on the My Items menu link at the top of the page.
- Click the blue Add button.
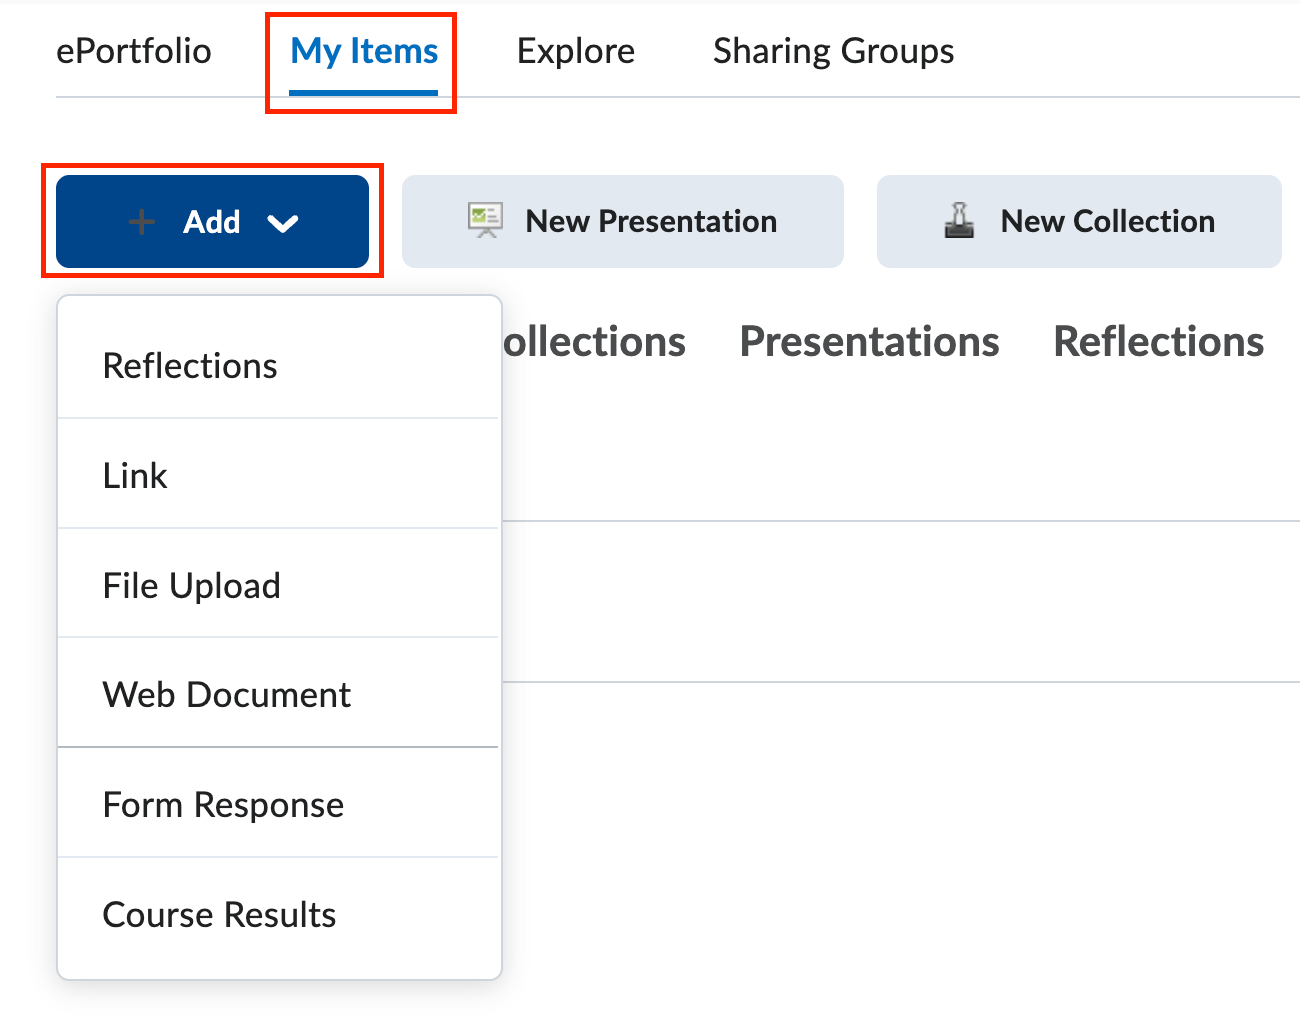
- Select the type of artifact you will be adding:
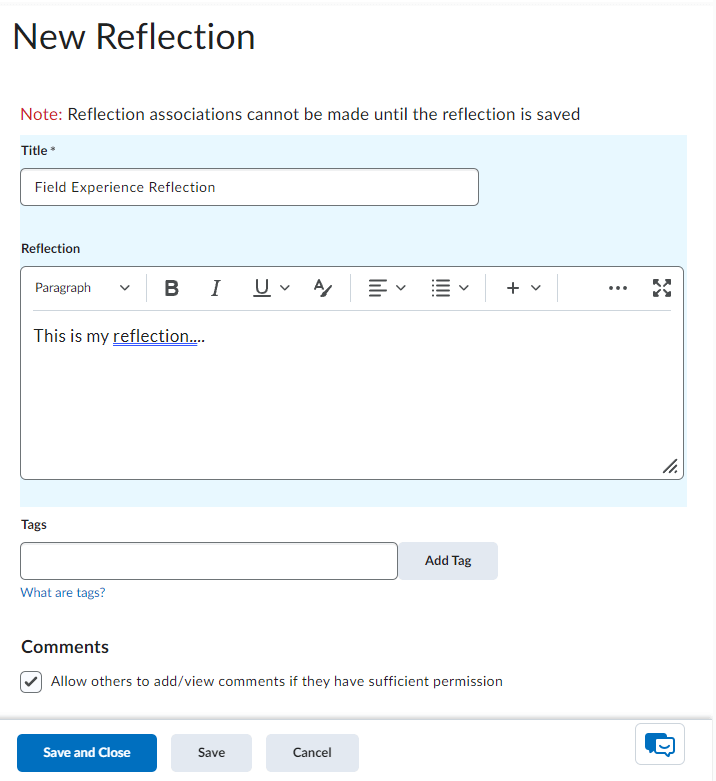
- Reflections - Create a reflection to share your thoughts and ideas on a particular subject or
project. Reflections can also be used to communicate your goals and aspirations.
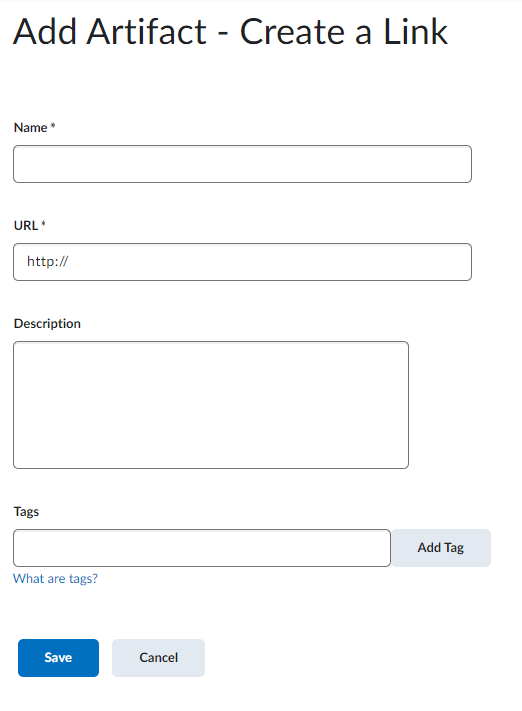
- Links - Create a link to an existing website housed outside of the D2L learning environment.
- File Upload - Upload files from your computer. The D2L ePortfolio tool supports a wide variety
of files including documents, powerpoint presentations, pdfs, spreadsheets, and more.
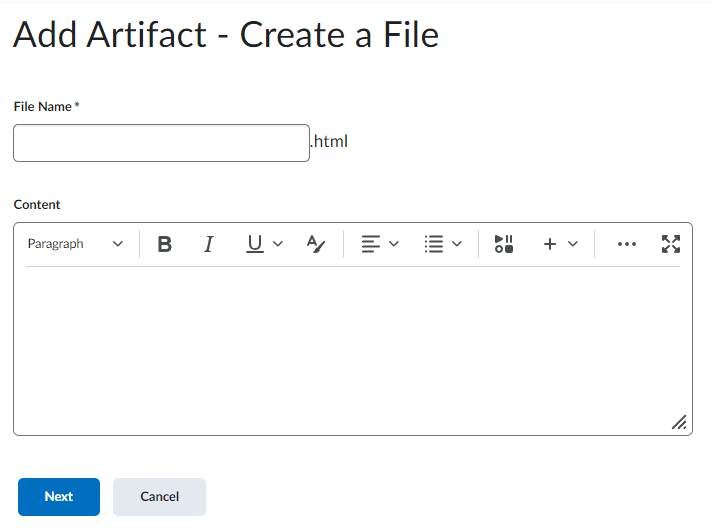
- Web Documents - You can add web documents, or documents formatted for the web (HTML).
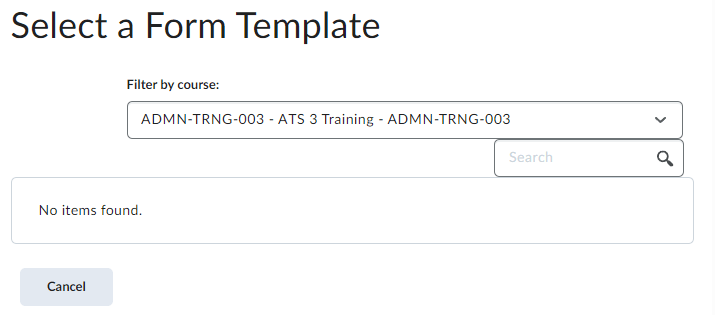
- Form Response - If you have completed a form within the ePortfolio tool, you can transfer your
form results over as an artifact.
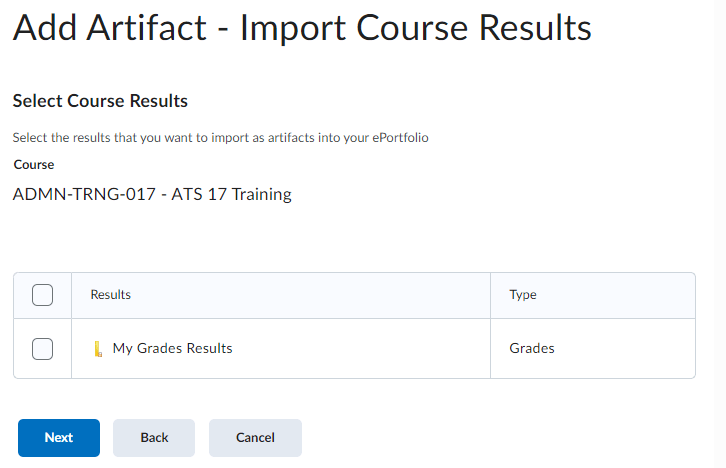
- Course Results - Import dropbox submissions, quizzes, and grades from any of your D2L courses.
- Reflections - Create a reflection to share your thoughts and ideas on a particular subject or
project. Reflections can also be used to communicate your goals and aspirations.
- After you select the type of artifact you would like to create, navigate appropriately through the Add an Artifact wizard (if applicable).
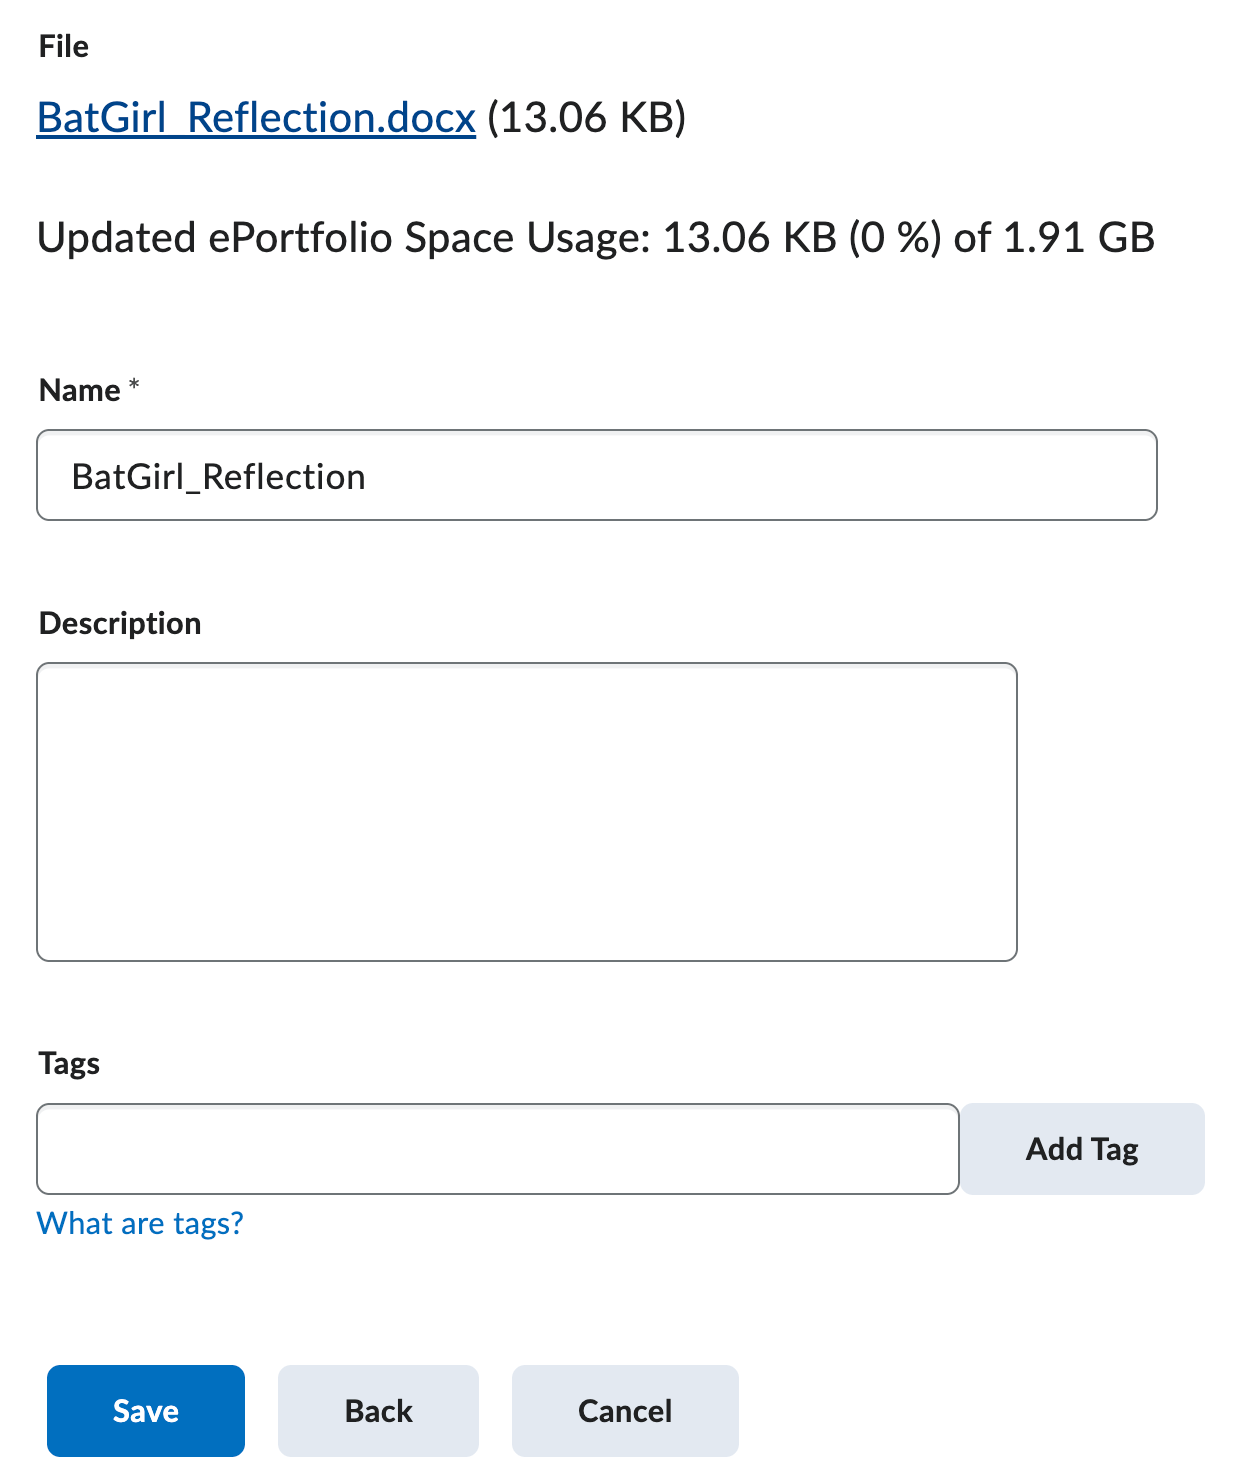
- After you've identified the file or content, you can give that artifact a description.
Simply type a short description of the artifact into the Description field.
- Use Tags to better help organize and dynamically assign artifacts to collections and presentations.
- To Add a tag, click within the Tags field and enter a word you would like to use as a tag.
- Click the Add Tag button.
- The tag will now appear below the Tag textbox. You may add multiple tags.
- Click Save.
- After you have created your artifact you have the ability to configure the Comments/Assessments of that artifact.
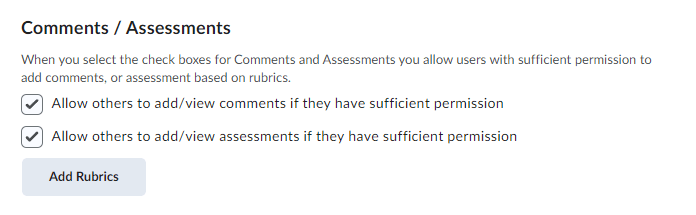
- Click Add Rubric to attach a grading rubric to your artifact. This rubric would be used by your instructor or peers, if you allow them access.
- Click Save and Close.
- Click on the My Items menu link at the top of the page to view all artifacts you have successfully added.
-
Create a Collection
Within the ePortfolio, a collection is simply a folder of items. You can create collections to better organize your artifacts.
Create a Collection
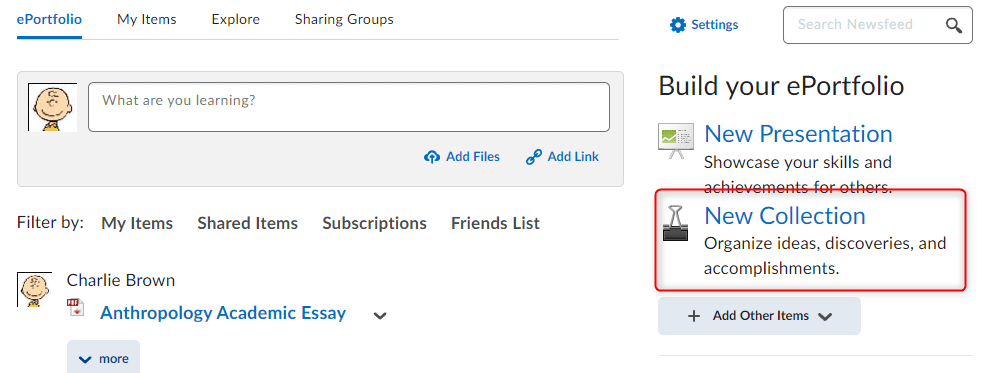
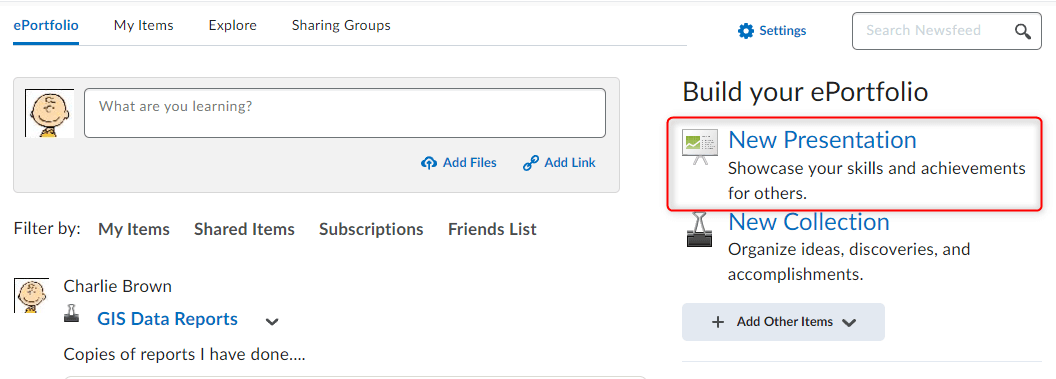
- From the ePortfolio Dashboard, click the New Collection link within the Build Your ePortfolio section on the right.
- Give your collection a Name.
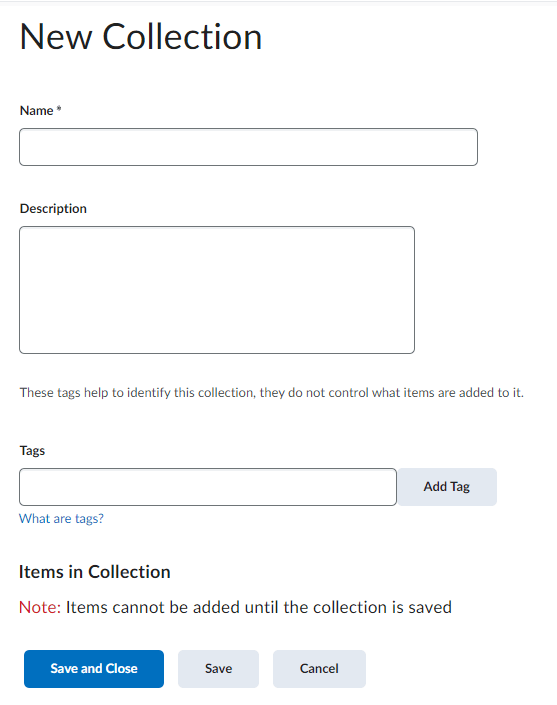
- Use tags to better help organize and dynamically assign artifacts to collections and presentations.
- To Add a tag, click within the Tags field and enter a word you would like to use as a tag.
- Click the Add Tag button.
- The tag will now appear below the Tag textbox. You may add multiple tags.
- Click Save.
- On the next page, you will be given the opportunity to add reflections, comments,
and assessments to your collection.
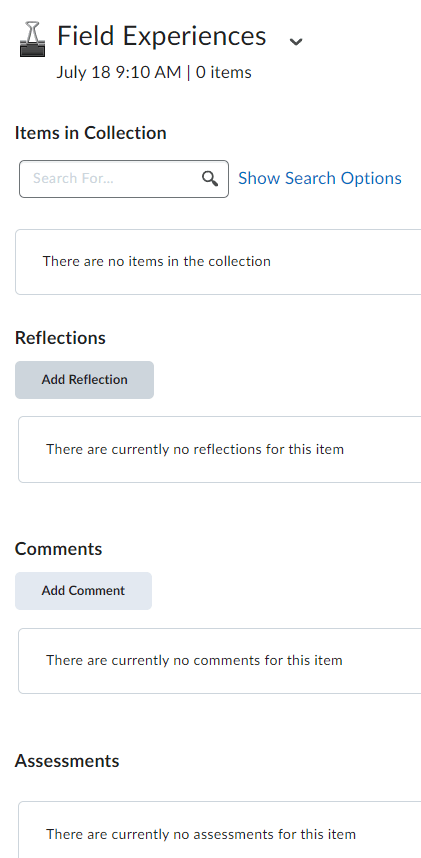
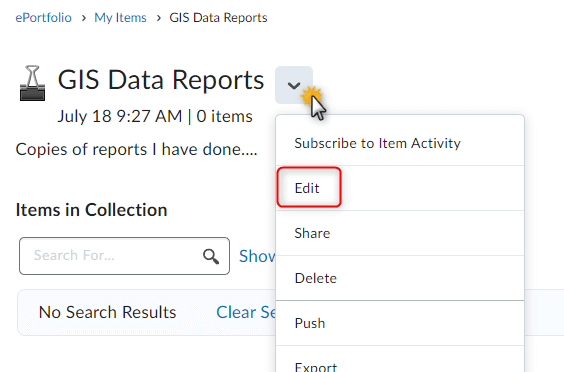
- To attach an existing item to your collection, click the dropdown arrow and select
Edit.
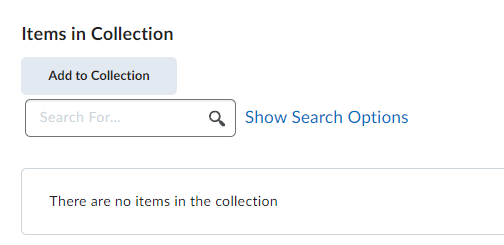
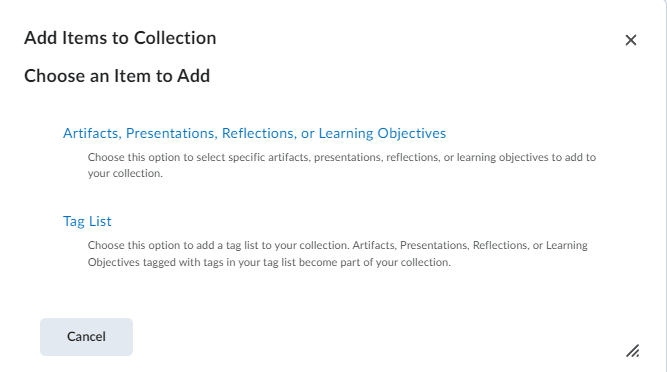
- Click the Add to Collection button to begin adding artifacts to your collection. There are two methods to add
items to a collection:
- The first option, Artifacts, Presentations, Reflections, or Learning Objectives, allows you to select items to add to the collection from your pre-existing list
of artifacts.
- Selecting this option will present you with a list of artifacts from your ePortfolio.
From here, simply mark the checkboxes of the items you wish to add to the collection
and then click the blue Add button.
- Selecting this option will present you with a list of artifacts from your ePortfolio.
From here, simply mark the checkboxes of the items you wish to add to the collection
and then click the blue Add button.
- The second option, Tag List, will automatically add items that contain specific tags to your collection.
- The first option, Artifacts, Presentations, Reflections, or Learning Objectives, allows you to select items to add to the collection from your pre-existing list
of artifacts.
- After you've added items to a collection, you have the option to configure the Comments/Assessments properties of that collection.
- You can allow for other users to assess the collection with a grading rubric. Click the Add Rubric button to associate a rubric to the collection. Then, users with the appropriate permissions will be able to assess the collection.
- Click Save and Close.
You may add items to multiple collections.
- From the ePortfolio Dashboard, click the New Collection link within the Build Your ePortfolio section on the right.
-
Using Tags to Add Artifacts to Collections
You can create tag lists that will automatically populate Collections.
Create a Tag List
- Click on the My Items menu link at the top of the page.
- Click the dropdown arrow of the Collection you wish to automatically populate.
- Select Edit.
- From within the Items in Collection section, click the Add to Collection button.
- Select Tag List from the options presented to you.
- Enter a Name for your Tag List.

- Enter the tags in the Tags in List textbox, making sure to click the Add Tag button after each entry.
- Click Save.
Only items that use ALL the tags you specify in the tag list are automatically added to the collection.
Tagging Tips
- Use commas or spaces to separate tags.
- Use quotation marks to create tag phrases that include spaces. (i.e. "hiking trip")
- Create multiple tag lists to create "OR" conditions. For example:
- Create one tag list which includes "hiking trip", tennessee
- Create another tad list which includes "hiking trip", "north carolina"
- Associate both tag lists with a collection and the end result will automatically add items tagged with hiking trip + tennessee or hiking trip + north carolina to your collection.
-
Create a Presentation
Presentations are outward expressions of your achievements. Most people would think of presentations as "ePortfolios." For D2L, ePortfolio is the name of the tool and a presentation is a digital, sharable representation of your work. D2L delivers presentations in a web project (HTML) format.
Create a Presentation
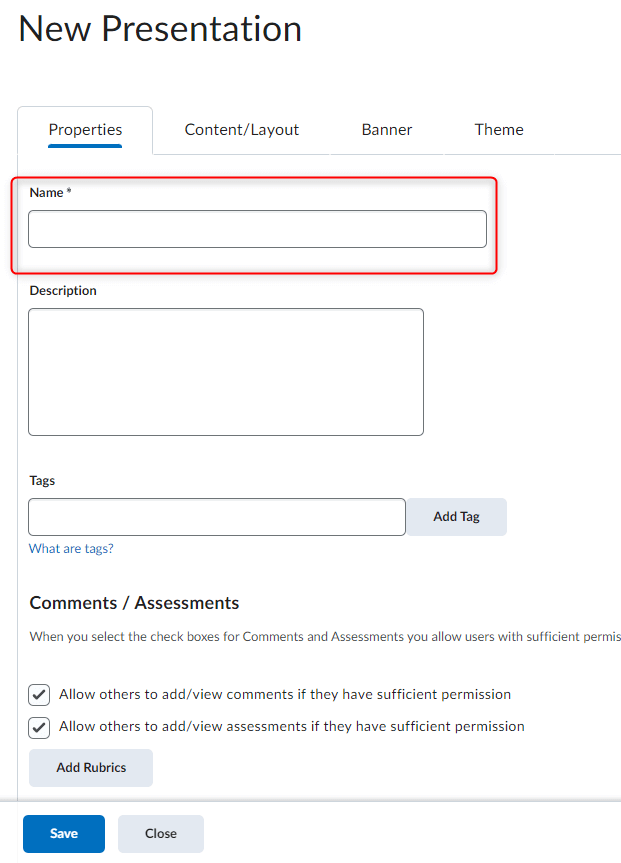
- From the ePortfolio Dashboard, click the New Presentation link within the Build Your ePortfolio section on the right.
- Give your presentation a Name. Optional: Enter a description, tags, or comments/assessments settings on this page.
- Click the Content/Layout tab to manipulate the layout and content areas of your presentation. This tab holds
the settings for both navigation and page layout.
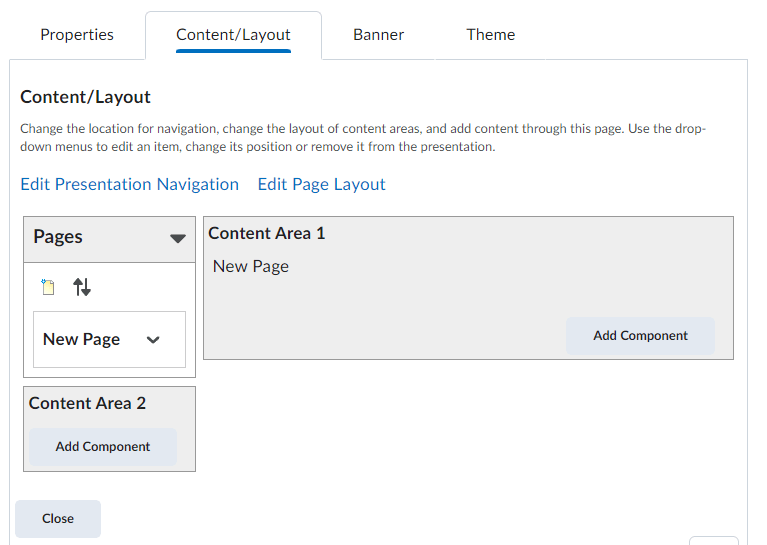
- Presentations are comprised of content areas. Within these content areas you may add components to your presentation. From a particular content area, click the Add Component button.
- Select a Content Type to add to your presentation.
- From the Type menu, select the particular pieces of content you would like to add to your presentation.
- Click Add.
- In terms of navigation, you can rename a particular page. Click the New Page context menu and then select Page Properties.
- Enter a new name for your page in the Page Name field.
- You may choose to hide the page name or hide the page completely.
- Click Save.
- Click the Banner Tab to configure your presentation's banner or header image.
-
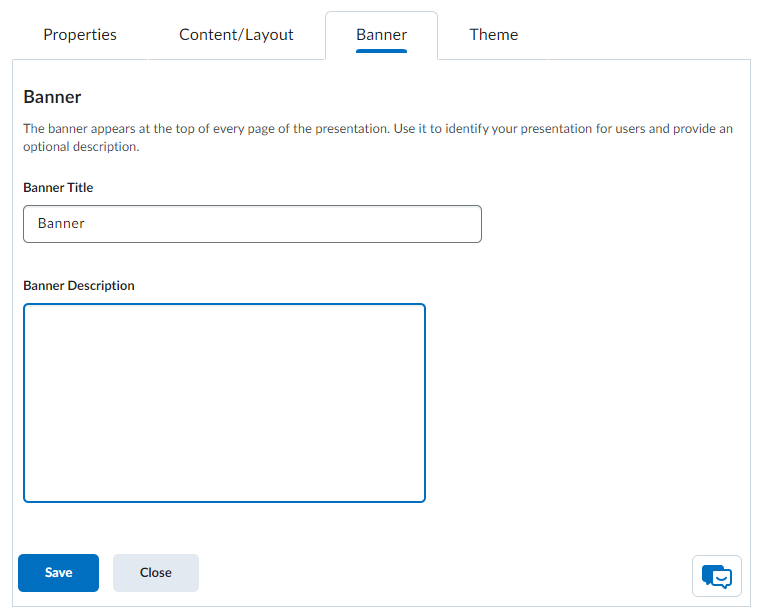
- Change the Banner name by replacing the current name in the Banner Title field.
- From the Theme tab, select from multiple design options for your presentation.
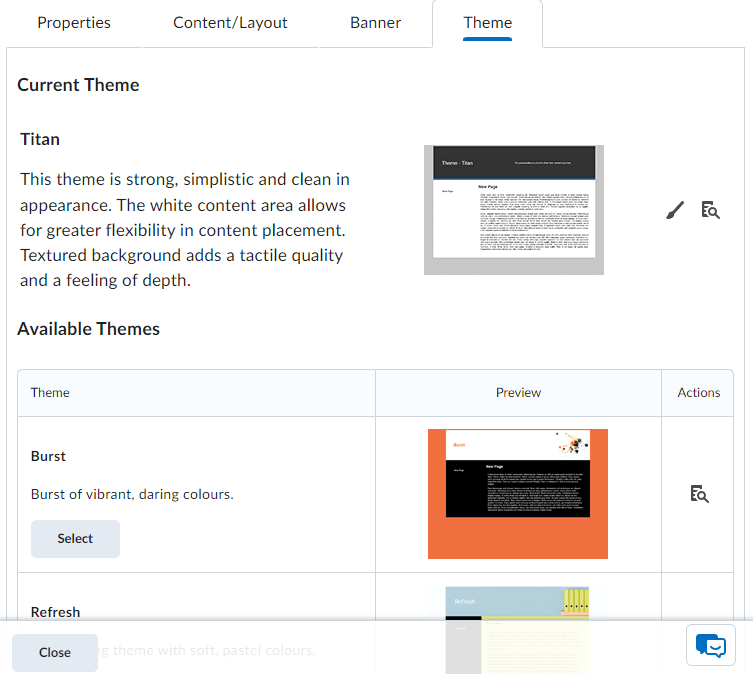
- Click the Preview icon to the far right to see an example of how your presentation will display. Close the window to exit the preview.
- Once you've decided on a theme, click the Select button for that particular theme.
- Click the Set Theme button to confirm your selection.
- When you're finished with each of the setup tabs, click Close.
- Your presentation will now be available in your list of items.
- From the ePortfolio Dashboard, click the New Presentation link within the Build Your ePortfolio section on the right.
-
Share an Item
You may share any artifact within the ePortfolio tools. You may also control how your classmates and instructors interact with your artifacts.
You can share the following:
- Artifacts
- Collections
- Reflections
- Presentations
You may share items with:
- Single D2L users
- Sharing Groups
Share an Item
- Click on the My Items menu link at the top of the page.
- Click the dropdown arrow of the item you want to share.
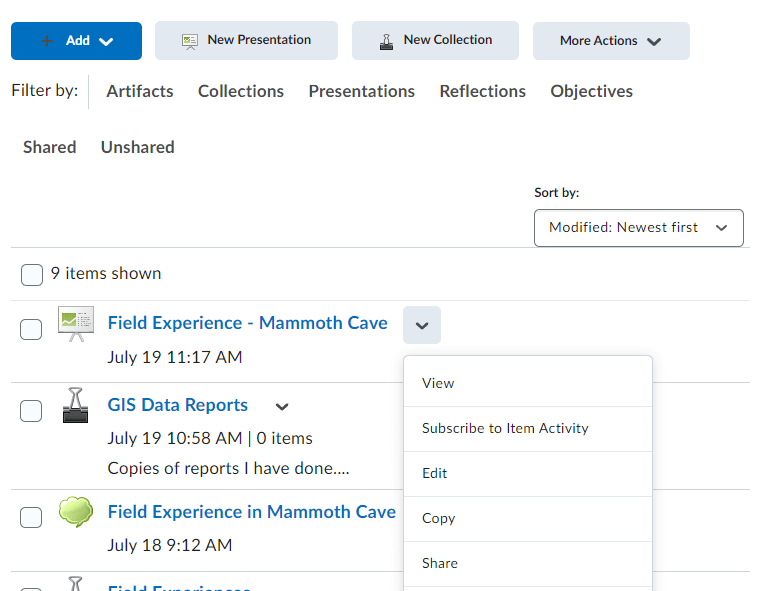
- Select Share.
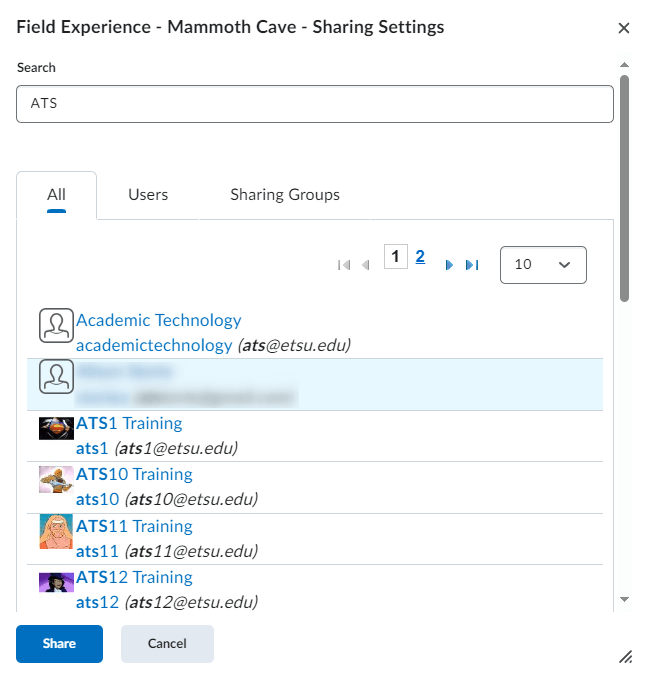
- Click on the Add Users and Groups button to identify the user(s) with whom you want to share your item.

- Click on the appropriate tab or use the search field and Select the user(s) and/or sharing groups.
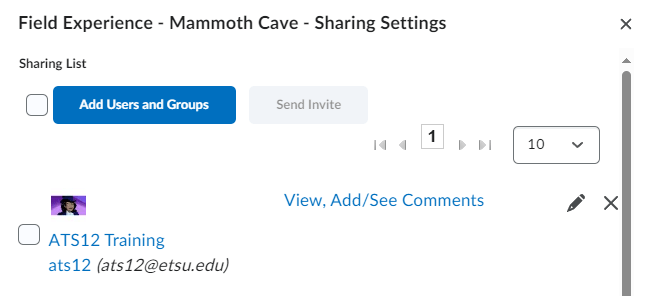
- Within the View, Add/See Comment Permissions section, mark the appropriate checkboxes to allow or disallow actions available for
other users by clicking on the pencil icon.
- In the Visibility section on the following page, select the window of opportunity for your item to
be viewed by others.
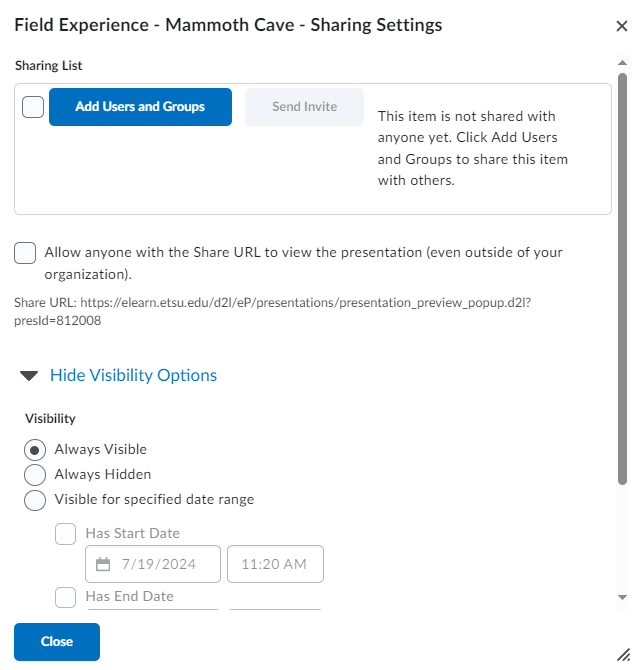
- Click Close.
-
Create a Sharing Group
Sharing Groups allow you to create and apply sharing permissions to members of a particular group. For example, you may create a sharing group for a group assignment. That way, you can share materials with your group members.
Create a Sharing Group
- Click on the Sharing Groups menu link at the top of the page.
- Click the blue New Sharing Group button.
- Enter a Name in the name field for your sharing group.
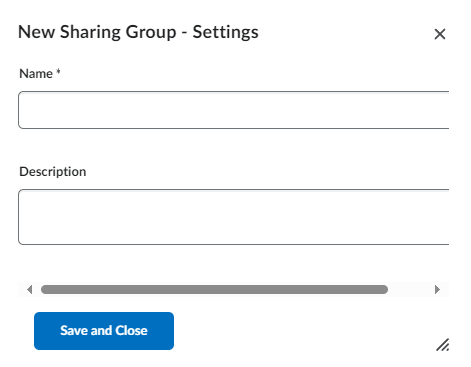
- Optional: Add a description by entering information in the Description field.
- Click the Add Users button. (This should pop-up after you enter a name.)
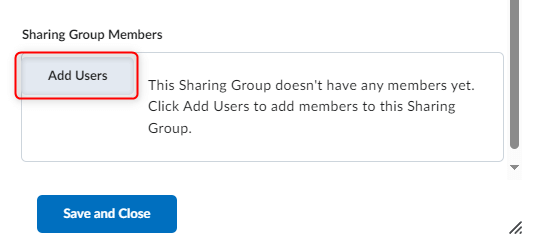
- You may use the search field, the Users tab, or the Courses tab to identify the user(s) you would like to add to your sharing group. Note: Selecting a course will add all classmates on the classlist to your sharing group.
- Within the View, Add/See Comments Permissions section, mark the appropriate checkboxes to allow or disallow actions available to
this sharing group.
- Click Add.
- Click Save and Close.
- Click on the Sharing Groups menu link at the top of the page.
-
Make Items Assessable
Making items assessable allows users with permission the ability the evaluate the item with a grading rubric.
Make an Item Assessable
- Click on the My Items menu link at the top of the page.
- Click the dropdown menu of the item you want to share.
- Select Edit.
- From with the Comments/Assessments section, mark the checkbox for Allow others to add/view assessments if they have sufficient permission. Marking this checkbox will allow users to assess the item with the associated rubric.
- Click the Add Rubric button.
- Select the rubric(s) you want to attached and then click the blue Add Selected button.
- Click Save and Close to return back to the My Items list.
From here, you will need to then share the item with the appropriate users. To do so:
- Click the dropdown arrow of the item you want to share.
- Select Share.
- Click the blue Add Users and Groups button.
- You may use the search field, the Users tab, or the Sharing Groups tab to identify the user(s) with whom you want to share your item.
- Select the user(s) and/or sharing groups.
- Within the View, Add/See Comments Permissions section, mark the appropriate checkboxes to allow or disallow actions available for
other users. Note that users who will will need to assess the item must have the Add Assessment permission
enabled.
- Click Share.
- Click Close.
You may enable assessments for artifacts, collections, and presentations.
- Click on the My Items menu link at the top of the page.
-
Assess Items Shared with You
At times, you may be asked to assess an item from an instructor or a fellow classmate. Assuming you have been given the appropriate permissions for that item, you can use associated grading rubrics to assess and provide feedback.
To Assess an Item
- From the ePortfolio Dashboard, click on the Shared Items filter to display only those items that have been shared with you.
- Identify the item you wish to assess. From its context menu, select View.
- Navigate to the Assessment section and click the Add Assessment button.
- Select the appropriate rubric you will use to assess the item.
- Click OK.
- Complete the rubric by selecting a level of achievement for each criterion. To select a level, simply click the radio button (circle) from within the cell.
- If you would like to edit the default score for a criterion or add any additional feedback, click the pencil icon located in the Score and Feedback column.
- When you have selected a level of achievement for each criterion and have finished
with your additional feedback, click Save. Your assessment and feedback will be recorded and available for to the owner of
the item.