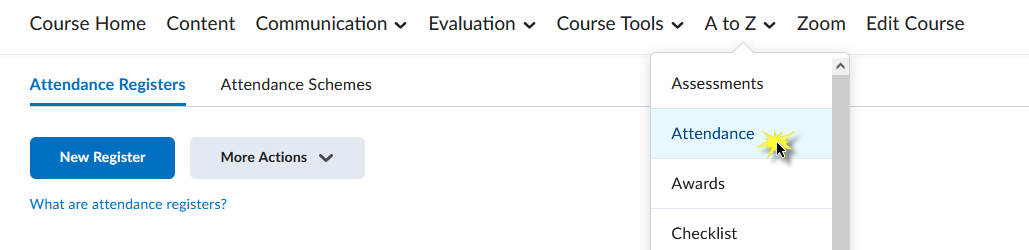
Accessing the Attendance Registry
To Access the Attendance Registry, click the A to Z link group and select Attendance from the drop-down menu.
The Attendance tool allows you to create registers that help track attendance for your course. You can create multiple registers for a single course. The attendance tool is not connected to the grade book. Attendance grades must be manually entered into the grade book in order for the score to be factored into the student's final grade.
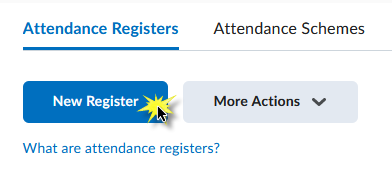
Create a Registry
An attendance registry is a collection of attendance sessions used to collect attendance information. For example, if you plan to take class attendance, you will need to create one attendance register with a session for each class meeting.
- Click the New Register button.
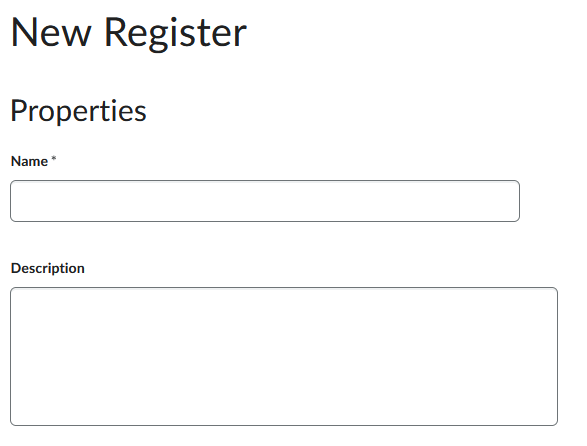
- Enter a name and a description (optional) . Make your register's name something intuitive, as this text will be the hyperlink
the student clicks to view his/her attendance information.
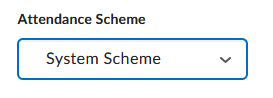
- Select an Attendance Scheme from the drop down menu.
- By default, D2L's attendance scheme is Present = 100% and Absent = 0%. You have the
option to create additional attendance schemes.
- By default, D2L's attendance scheme is Present = 100% and Absent = 0%. You have the
option to create additional attendance schemes.
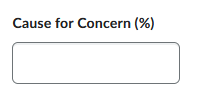
- Enter a Cause for Concern (optional)
- The Cause for Concern is an automatically calculated percentage, and depending on
the number entered in this field, D2L will flag students who are falling below the
cause for concern percentage.
- The Cause for Concern is an automatically calculated percentage, and depending on
the number entered in this field, D2L will flag students who are falling below the
cause for concern percentage.
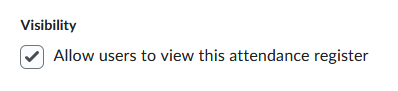
- Check the Visibility option if you would like students to be able to view the register.
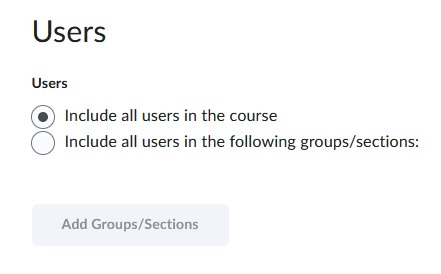
- In the Users option, select which students to track in the register. By default, D2L will track
all class participants.
- Enter a name for each session. For example, you can name each session after the class meeting date.
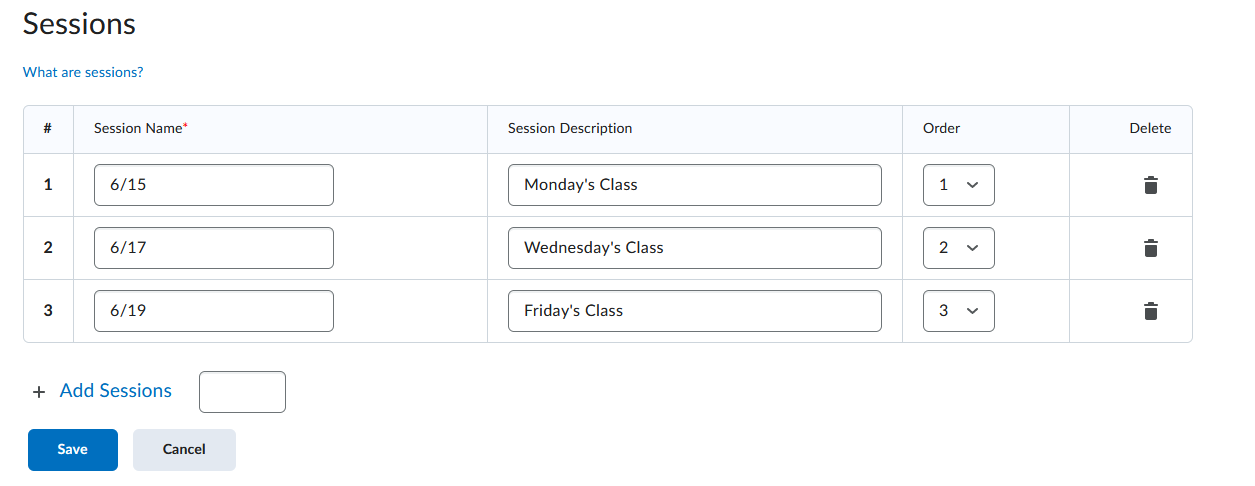
- Enter Session descriptions (optional)
- Use the Order drop down menus to reorder your sessions if you choose.
- Click the trashcan icon to delete a session.
- If your register requires more than three sessions, enter the number of additional sessions needed in the Add Sessions text box and then click the Add Sessions button. D2L will then add additional rows to the Sessions table.
- Click Save to save your register.
Taking Attendance
Taking attendance in D2L cannot be automated. An instructor must select an attendance value for each student for each session.
- From the Attendance Registers List page, click the name of the Attendance Register to enter attendance information.
- Click the Edit Icon for a particular session to mark students individually.

- This will take you to a list of the students with attendance status options next to
each of their names.

- Choose P for present or A for absent.
- To set the status in bulk, select all then click Set Status.

- From there you can choose to mark all as P or A. You can edit individual students using the workflow shown above.
- Click Save to save your register.