ePortfolio
D2L's ePortfolio tool gives students and instructors the ability to create collections and presentations that represent their academic achievements and experiences.

While the ePortfolio tool is not tied to individual classes, instructors can assign work within the tool. Students may create collections and presentations and then make those items assessable so that classmates may complete peer reviews and the instructor can offer feedback. Although the tool cannot be connected to the D2L gradebook, items within the ePortfolio can be associated with a grading rubric.
“Store, organize, reflect on, and share items that represent your learning using ePortfolio."
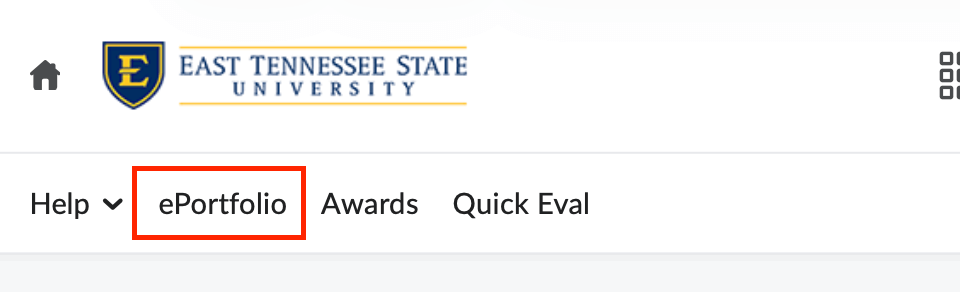
To access ePortfolio, click on the ePortfolio link located on the My Home page within the navigation bar.
Navigating ePortfolio
-
Navigation
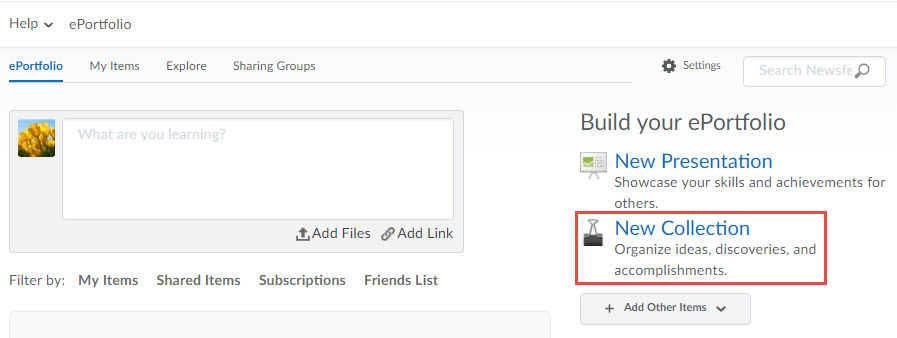
After clicking on ePortfolio from the Navigation bar you will be taken to the ePortfolio Dashboard. From this dashboard you can write a reflection, add artifacts, and view your recent eP activity. Also included on the Dashboard are your invitation to view, assess, or comment on items from other students and instructors.
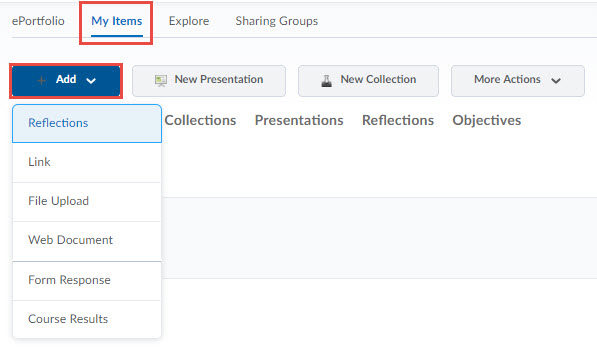
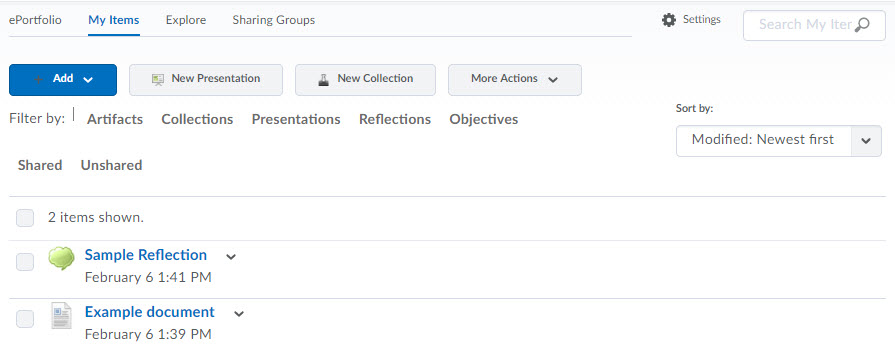
My Items

Use this function to create, view, and manage all items within your ePortfolio. Items include files, artifacts, collections, and presentations. You can view specific items by selecting an option from the filtering menu. For example, clicking “presentations” will show only those presentations you have created within the tool.
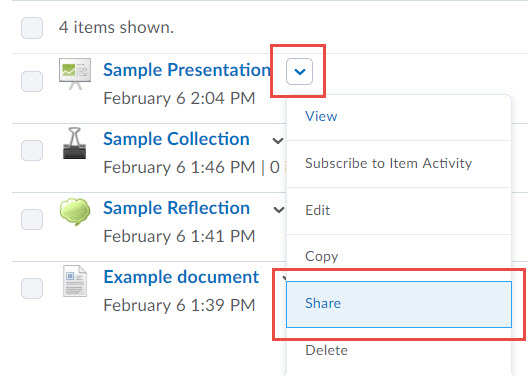
To manage an item, click on that item’s context arrow to view the menu. From here, you can view, edit, share, or even delete the item.
To perform an action on multiple items, mark the checkboxes for those items and select an action from the More Actions button.
Explore

The Explore link lists all items that have been shared with you. You can view specific items by selecting an option from the filtering menu. For example, clicking “presentations” will show only those presentations shared with you.
Sharing Groups

Use sharing groups to create multiple sets of permissions that control the viewing, commenting, and assessing of your ePortfolio items.
-
Share Items with/Push Items to Students
In order to share or Push items in a course you must first create a Sharing Group.
Create a Sharing Group
- From the Course Homepage, click the Edit Course link on the far right-hand side of the navigation menu.

- Within the Administration category, select Sharing Groups.

- Click the blue New Sharing Group button. A new window will open.

- Enter a Name and a Description(optional).
- After you populate the Sharing Group's name, additional settings will appear. Click
on the Show Advanced Sharing Options hyperlink to display the full set of options available.

- To allow students within the course to use this Sharing Group, keep the Current Org Unit checkbox marked.
- Mark the checkbox to Automatically share items with this sharing group if you want to force all students in this course to use this sharing group.

- If you mark Hide sharing group from users, students in this course will not be able to determine which items they are automatically
sharing or the permissions other users have.

- Within the Type Filter, you can select the item types you wish to automatically share.
- Click Save to capture these settings.
- If you mark Hide sharing group from users, students in this course will not be able to determine which items they are automatically
sharing or the permissions other users have.
- Click the Add Users button to add your students to this particular sharing group. You may browse your
course offerings or manually search for users.


- Within the Assign Permission section, mark the appropriate permissions for this sharing group.
- Click Add.
- Click Save and Close.
Pushing ePortfolio Items to Others
Use the Push option to give students access to ePortfolio items you have created. These items may include Presentation Themes, Forms, Rubrics, Templates, and other artifacts. Pushing items is a great way to give students access to model assignments and rubrics.
You may review the status of your pushed items at any time by visiting the Pushes to Others tab on the Import/Export ePortfolio Content page.
Push Items to a Sharing Group (Course)
- Open ePortfolio by clicking on the navigation link on the My Home page.

- Click the dropdown menu beside the item you want to push.
- Click the Push option.

- Check the box to include associated items (rubrics, reflections, or learning objectives)
if desired.

- After selecting your items, click Next.
- Browse for the individual user or sharing groups and click on the appropriate user or group.
- Click Push.
- From the Course Homepage, click the Edit Course link on the far right-hand side of the navigation menu.
-
Create a Form
D2L's ePortfolio supports to create and use of forms to collect information from users. Administrators and Instructors can create forms to share with students. When a student completes a form, that form's response is then added to his or her eP. From there, the student is able to share, edit, or add the form response to collections or presentations. Students may also download and submit form responses to a dropbox folder.
Forms are not course-specific.
Create a Form
- From the Course Homepage, click the Edit Course link on the far right-hand side of the navigation menu.
- Within the Site Resources category, select Forms.

- Click the blue New Form Template button.

- Give the form a Name and an optional Description.

- Click Save.
- Use the Form Contents buttons to create the fields within your form.

Forms support two types of fields: System Fields and Custom Fields.
- System fields are automatically populated by D2L with a user's profile information. Some examples of System Fields are First name, Last name, and email address.
- Custom fields are not automatically populated. Users must enter information. Instructors can control whether or not a custom field is required.
Add a System Field

- Click the Add System Field button.
- Mark the checkboxes for the System Fields you would like to include.
- Click Add.
Add a Custom Field

- Click the Add Custom Field button.
- Enter a Field Name.
- If you wish for this field to be required, mark the checkbox labeled Make this a required field.
- Select a Data Type.
- Enter the required information for the data type you selected.
- For more information about data types, please view the Custom Fields Table.
- Click Save.
Add a Section Header

- Click the Add Section Header button.
- Enter a Name.
- If you would like for a horizontal rule/line to display, mark the Show as separator checkbox.
- Click Save.
- From the Course Homepage, click the Edit Course link on the far right-hand side of the navigation menu.
-
Integrate ePortfolio within your Course Content
Integrate ePortfolio Forms and enable ePortfolio Reflections within your Content Modules.
Add an ePortfolio Form to your Course Content
- From your Course Homepage, click the Content link.
- Locate the module where your form will reside. From within that module, click the
Add Existing Activities button.

- Select Form Template.
- Click the form you want to add.
Enable ePortfolio Reflections from Course Content
- From your Course Homepage, click the Content link.
- Click on the topic you would like to enable for reflection.
- Scroll to the bottom of the page and locate the Activity Details tab. Reflecting in ePortfolio is enabled and there is a button for students to click
to do so.

-
Rubrics and ePortfolio
Before you can push a Rubric to your students, that rubric must be available for ePortfolio associations.
Turn on Rubric Associations to ePortfolio
- From within a course, open the Rubrics tool by selecting Rubrics from the Course Tools menu.
- Locate a particular rubric and click its context arrow.

- Select Edit Properties.
- From within the Advanced Availability section, mark the ePortfolio checkbox.

- Click Save.
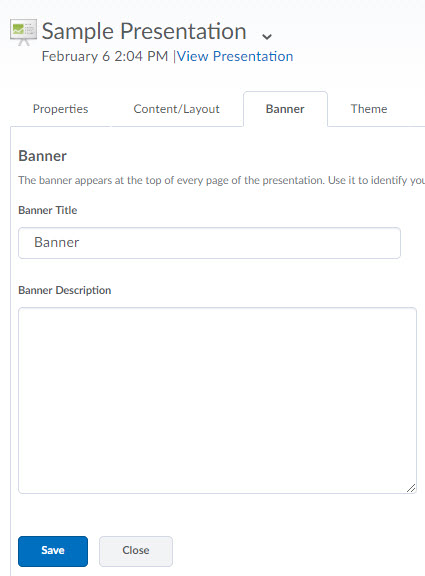
Using ePortfolio
The ePortfolio tool is used for storing, organizing, reflecting on and sharing items that represent your learning. Students and faculty can include items such as documents, graphics, audio files, videos, presentations, and course work to demonstrate skills in certain areas. Using ePortfolio, students can make connections between their courses, as well as draw connections between their academic work and the specific objectives that a course or program is targeting.
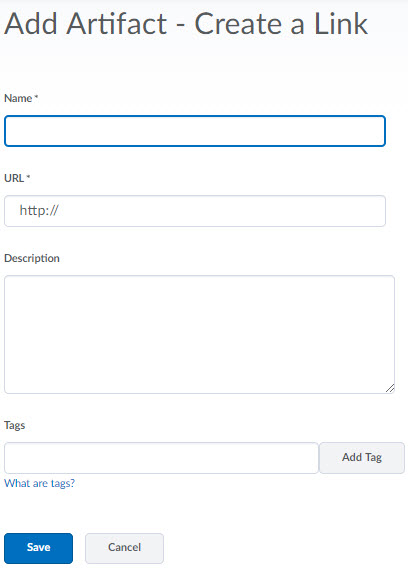
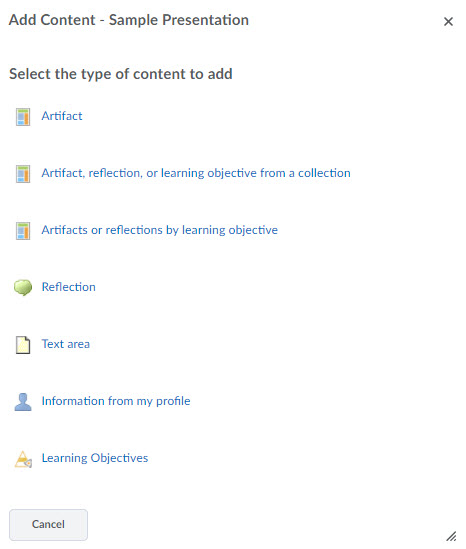
In D2L's ePortfolio tool, an artifact can include reflections, links, documents, and
even audio/video files. These files and reflections can be uploaded into your artifacts
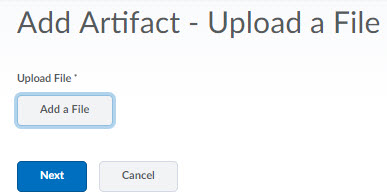
library or imported from your D2L courses. Adding Artifacts While you are able to add some artifacts on the Dashboard, most artifacts should be
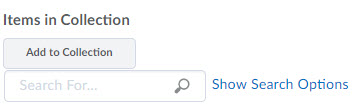
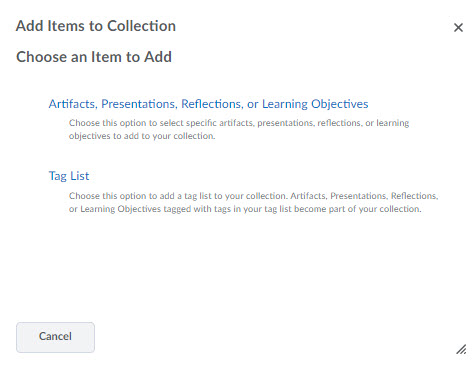
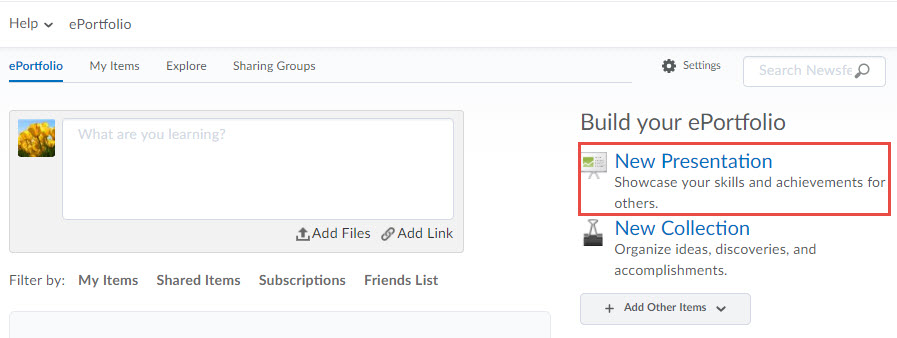
added from the My Items page of the eP tool. Within the eP, a collection is simply a folder of items. You can create collections
to better organize your artifacts. Create a Collection You may add items to multiple collections. You can create tag lists that will automatically populate Collections. Create a Tag List Only items that use ALL the tags you specify in the tag list are automatically added
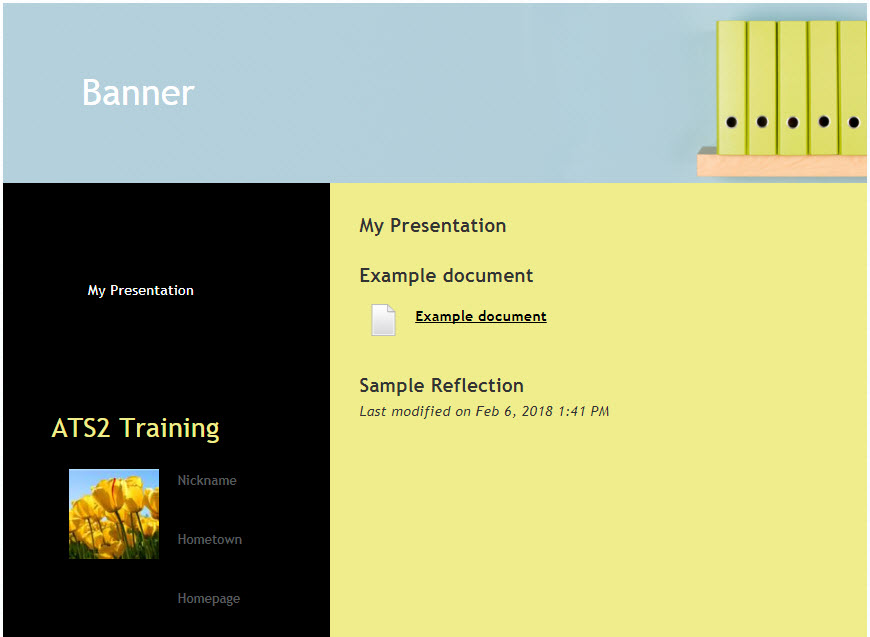
to the collection. Tagging Tips Presentations are outward expressions of your achievements. Most people would think
of presentations as "ePortfolios." For D2L, ePortfolio is the name of the tool and
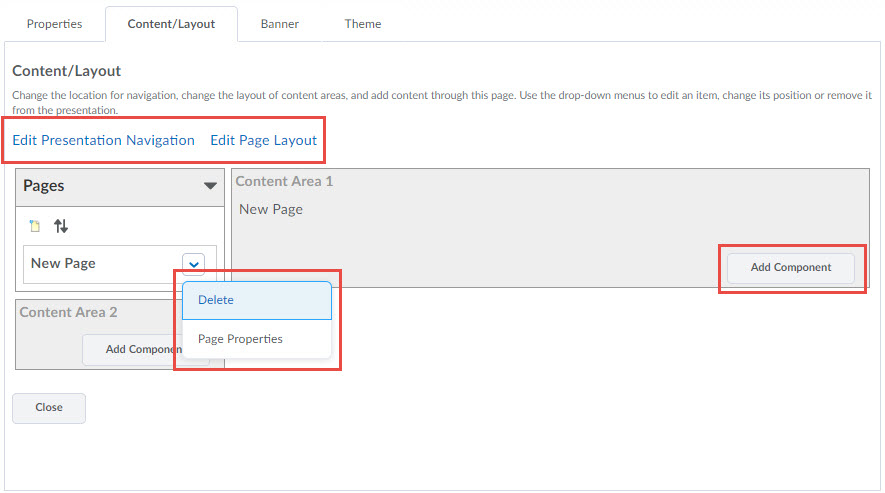
a presentation is a digital, sharable representation of your work. D2L delivers presentations
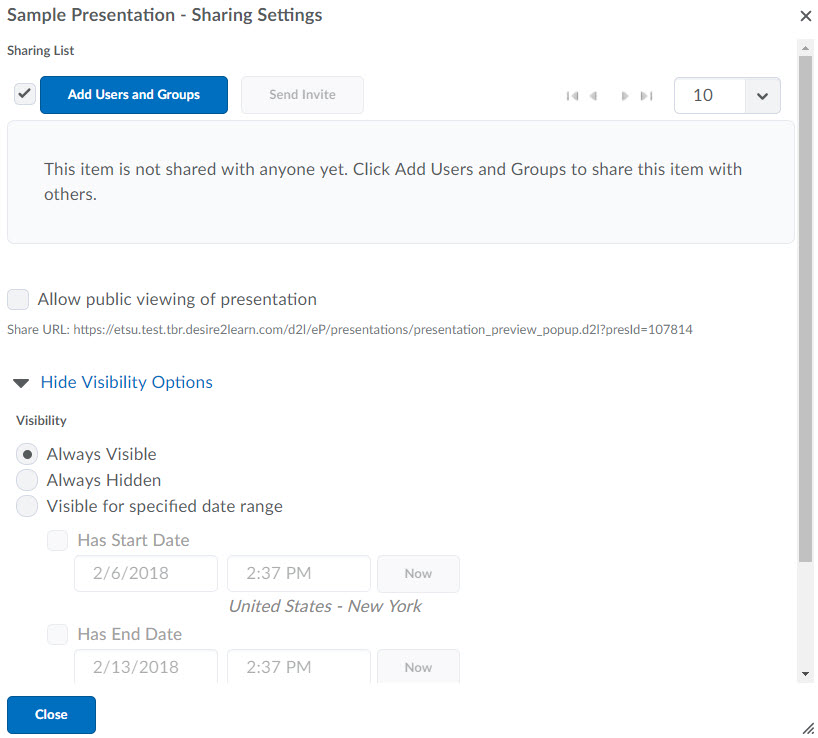
in a web project (HTML) format. Create a Presentation You may share any artifact within the eP tools. You may also control how your classmates
and instructors interact with an artifact. You can share the following: You may share items with: Share an Item Sharing Groups allow you to create and apply sharing permissions to members of a particular
group. For example, you may create a sharing group for a group assignment. That way,
you can share materials with your group members. Create a Sharing Group Making items assessable allows users with permission the ability the evaluate the
item with a grading rubric. Make an Item Assessable At times, you may be asked to assess an item from an instructor or a fellow classmate.
Assuming you have been given the appropriate permissions for that item, you can use
associated grading rubrics to assess and provide feedback. To Assess an Item
Add an Artifact

Create a Collection

Using Tags to Add Artifacts to Collections
Create a Presentation

Share an Item
Create a Sharing Group
Make Items Assessable
You may enable assessments for artifacts, collections, and presentations.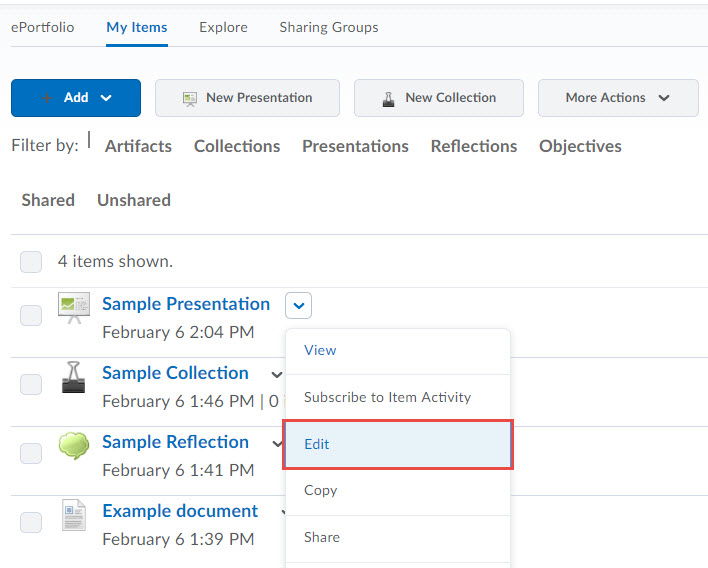
Assess Items Shared with You